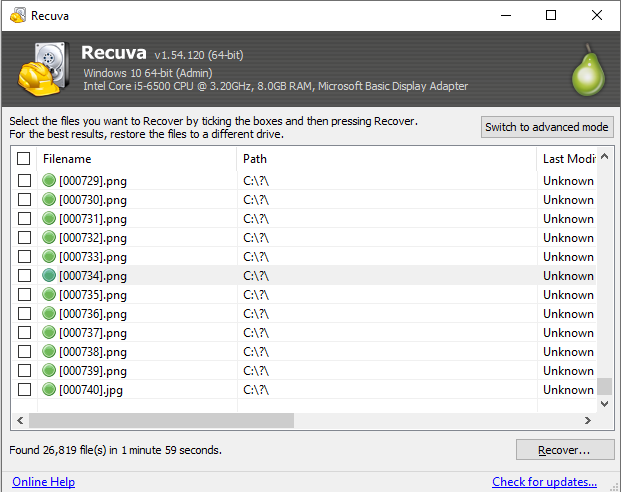
Results you can triage in minutes
Path, condition, size - sort ruthlessly. Green states buy confidence; red flags often mean overwritten clusters. Pull the crown jewels first, then sweep the long tail.
Product tour
What follows is the real Windows UI: deep scan, triage grid, path restore, and the switches power users lean on - so your first incident run is muscle memory, not guesswork.
Path, condition, size - sort ruthlessly. Green states buy confidence; red flags often mean overwritten clusters. Pull the crown jewels first, then sweep the long tail.
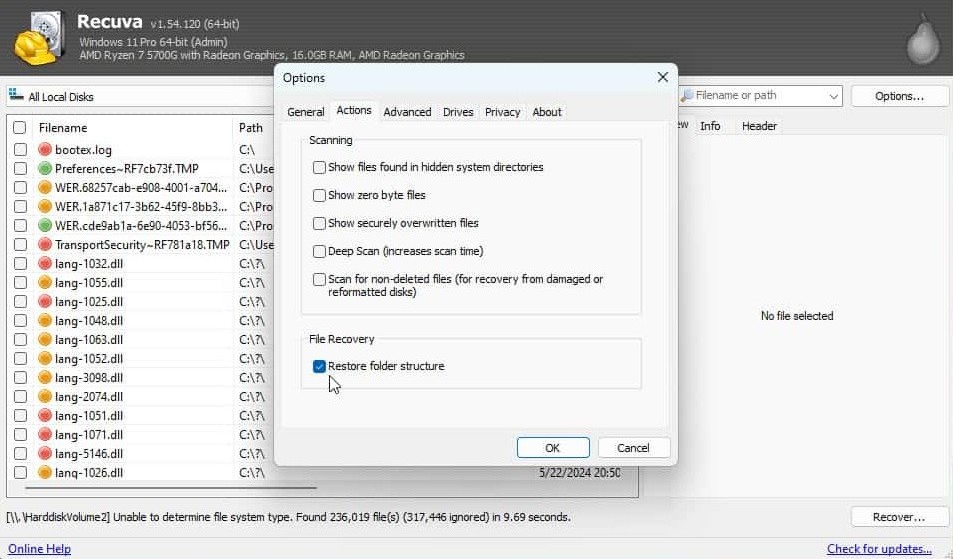
When paths reconstruct, you get libraries and project trees back - not a thousand siblings in one folder. That is where hours are won or lost.
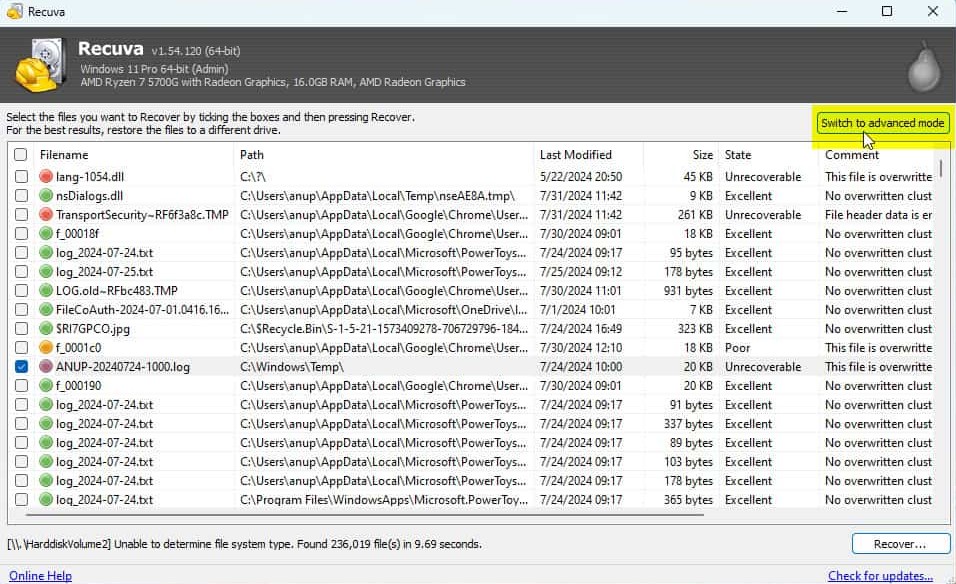
Drives, folders, masks - tune without restarting the wizard when you already know where the payload lived.
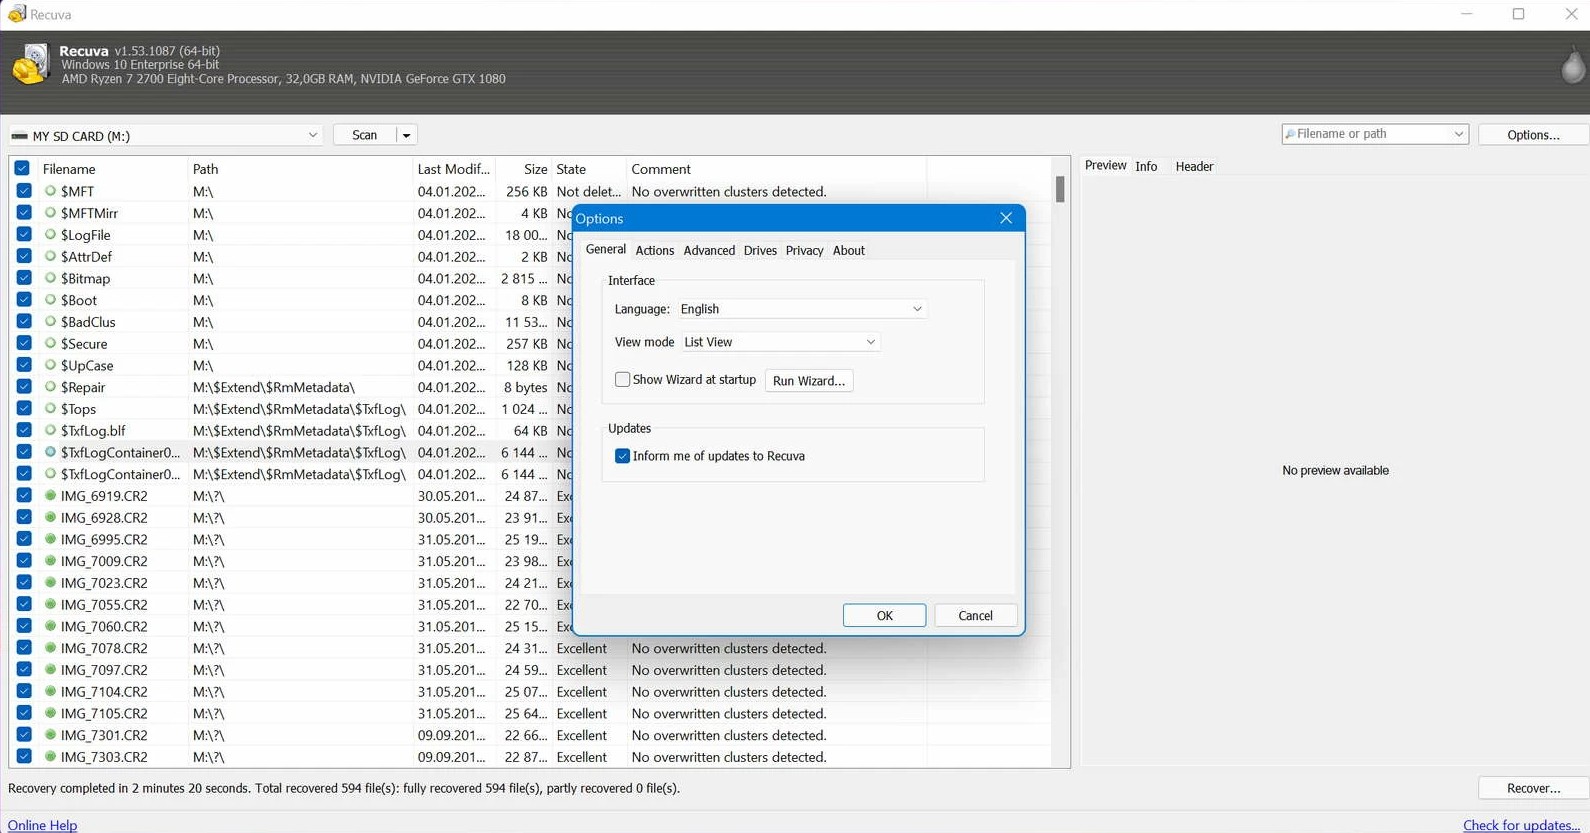
Language and update cadence belong to IT. Under incident load, stable defaults beat clever experiments.
Name-brand reader, no hub roulette, no in-place “repair” before imaging - and never recover onto the volume under scan.
Wizard sequence
Recuva hides jargon behind friendly prompts, but each step maps to a recovery decision. Walking it once on a test machine builds the mental map you will need when a user is watching the clock.
Narrowing to pictures, documents, or email reduces noise on huge volumes. When metadata is uncertain after a format or corruption, “All files” keeps options open - then you lean on masks and sorting in advanced mode.
Specific folder, removable media, or whole drive - this sets how much of the volume Recuva walks. Prefer the smallest scope that still contains the lost data; you can widen later without burning the first pass on unrelated paths.
This is the fork in the road. Quick scan leans on filesystem metadata; deep scan reads sectors for signatures when entries are gone. Default to quick when deletes were recent and the volume is healthy; escalate when the list is empty or obviously wrong. The long-form rationale lives on the home guide under Quick scan vs deep scan and in Quick vs deep in practice.
For phase-by-phase discipline (staging disk, sleep, handoff notes), pair this tour with the workflow playbook.
Scan modes
The UI does not show NTFS internals - it asks whether you need the fast path or the heavy one. Expect deep scan to run much longer and to return more rows that need manual triage.
Best when the Recycle Bin was emptied recently, files were deleted through normal means, and the volume still mounts cleanly. Results usually include original paths and plausible filenames - ideal for a first export pass.
Use when quick scan returns nothing useful, the volume was reformatted, or filesystem metadata is damaged. Expect carved entries, generic names, and a grid that rewards sorting by type and size - see file masks to cut the flood.
Results list
The screenshot below is a reference frame; your build may label columns slightly differently, but the signals repeat: path honesty, recoverability state, and size sanity.
Advanced mode
Switching to advanced mode exposes the levers power users expect: pick the exact drive letter, drill into a subtree, and constrain file patterns so the grid matches how the data was actually organized.
Separate multiple patterns with semicolons - for example *.jpg;*.cr3;*.nef for a photo batch, or *.docx;*.xlsx for office docs. After deep scan, masks are often the difference between a usable shortlist and tens of thousands of anonymous entries.
Scoped folders keep USB and project trees honest: scan only the subtree that held the loss instead of the entire volume when you already know the path. That cuts noise and reduces the chance you recover unrelated sensitive data into a shared export folder.
Related
Advanced mode: drives, folders, and file masks on the blog walks examples and collision behavior in more depth.
Install & options
IT and power users care as much about how Recuva lands on disk as about the recovery screens. The general options panel is where language, updates, and shell integration are decided - lock these down before you standardize a build.
UI language and automatic update checks belong to policy. Under incident load, freeze novelty: agree with security whether offline installers or portable extraction paths are required, then mirror that in your runbook.
Running from a thumb drive or a read-only network share can satisfy “no local install” rules. Always extract or install onto a volume that is not the source you are scanning, and document the exact path for the next operator.
Optional Explorer shortcuts can speed ad-hoc rescues from the Recycle Bin or a folder. If shell extensions conflict with locked-down images, disable them centrally and drive users to the full wizard instead.
Secure overwrite
Recuva can optionally overwrite files so casual undelete passes fail. That is the opposite problem from recovery - but the same UI literacy matters, because mistakes here are permanent.
Use only after exports are verified
Pre-flight
These gates prevent the classic failure mode: a successful export that overwrites the only remaining copy of something else important.
Drive letters that flap, empty lists, or installers blocked by policy usually are not “Recuva bugs” first - they are bus, encryption, or GPO stories.
Features tell you what each screen is for; the workflow ties them into an order that protects the disk and the people waiting on files.